If you haven’t read the previous post about setting up a camera, I highly recommend it, find it here: How SIA Sets Up Our Wildlife Cameras
If you have read our previous blog post about how to set-up a wildlife camera, you are now ready to learn how to check your camera. This protocol is how we at Sky Island Alliance check our cameras, I hope I can pass on some tips and tricks to you.
Time between Camera Checks
We found that cameras should be visited every 2-3 months as a minimum. However, you may find that you have a very productive camera, and the batteries may need to be changed more often. Wildlife cameras can be left out for longer stretches, but we found that the batteries will die, or the SD card will fill up after 6 months.
Equipment Needed
Before you go out to check your camera, be sure to have these items.
Essential items: Lock keys, Empty SD Card, extra camera batteries
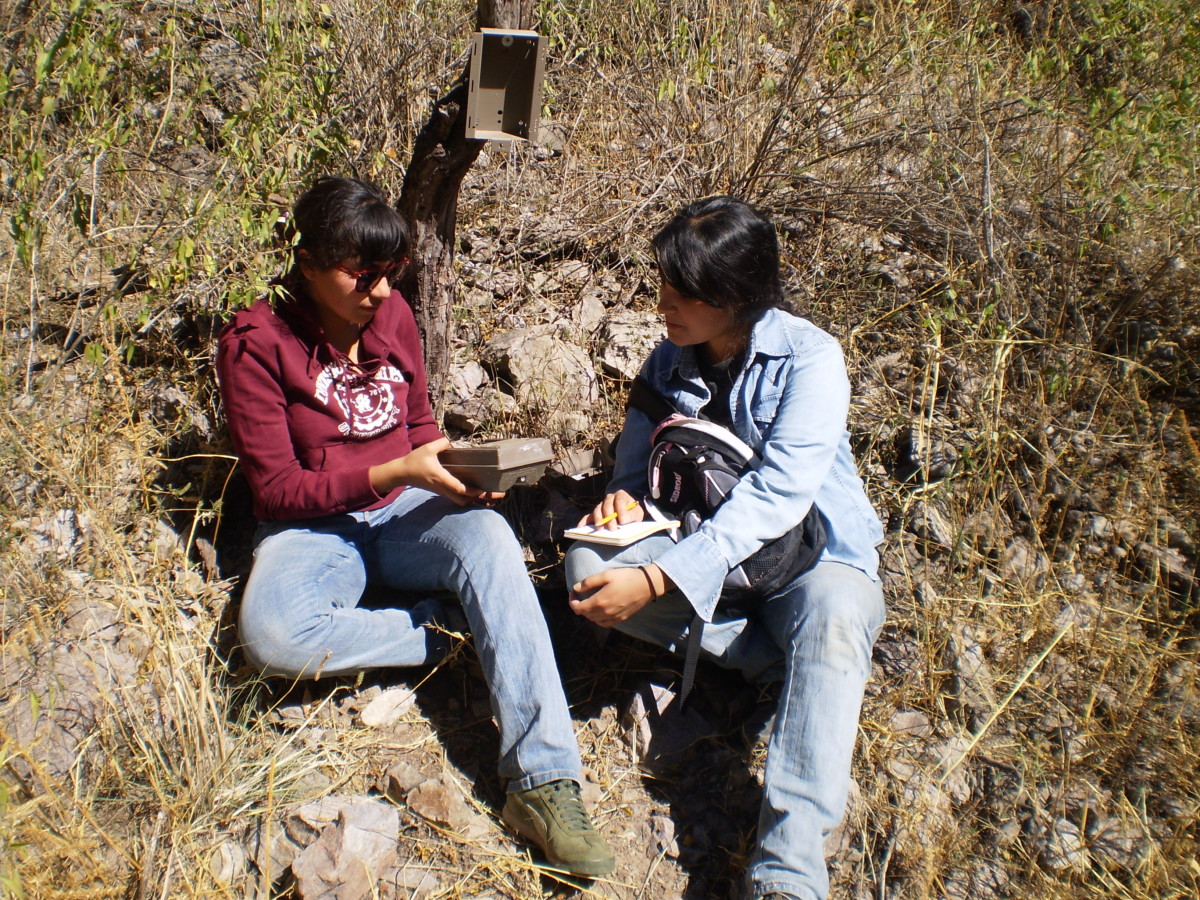
Recommended: Multi-tool to get camera loose and remove debris, clean cloth to clean the camera, Pen and paper to take notes. GPS and coordinates to find the camera.
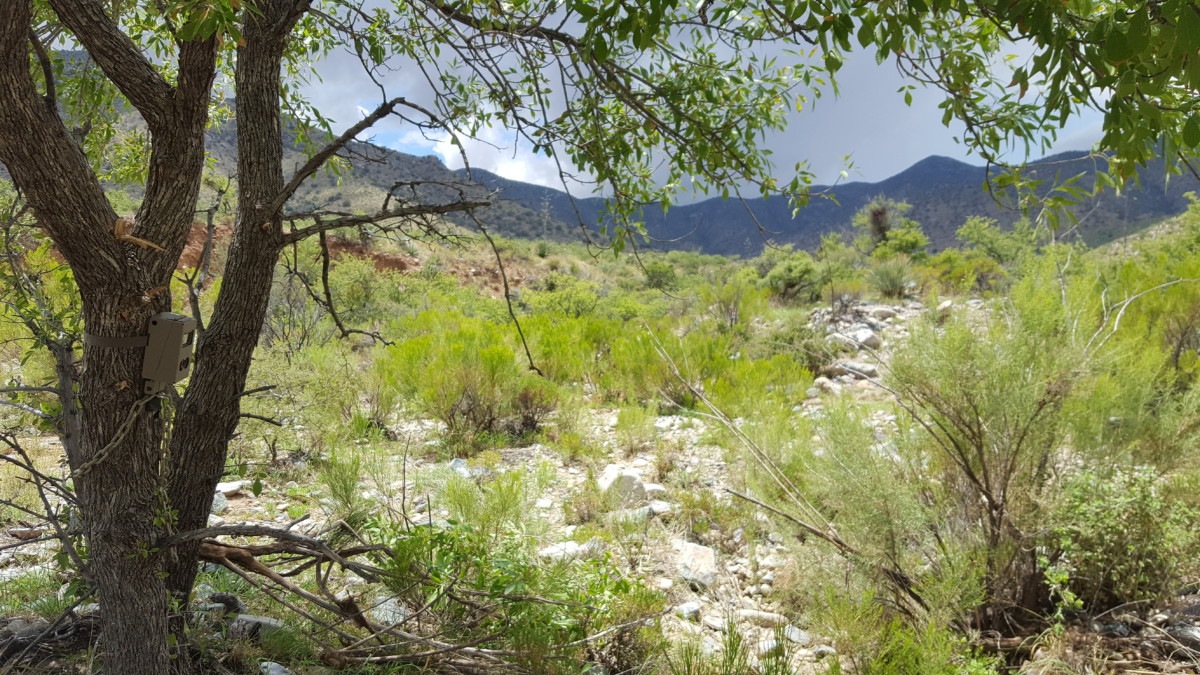
Checking your Camera
If you have a metal security/bear box, unlock it and remove the camera from the box. Most bear boxes open from the bottom. Pull the right side of the box’s bottom towards you and slide the camera up and out. When you open the bear box, beware of spiders, scorpions, or harmful insects! These critters love the safe space the camera set up provides and commonly keep our cameras company. If a spider or insect is present, don’t panic and don’t squish them! Just find a nearby stick and sweep them out of the box.
Once you have the camera out of the box, turn off the camera first. Follow your camera’s specific manual instructions to do this.
Now that the camera is off, replace the batteries with fresh ones. Use name brand batteries for best results. While doing that, inspect the rear battery housing for any damages or undesirable features. Use the clean cloth to wipe away any debris or moisture. Ensure that the batteries are inserted the current way, and there is no corrosion in the battery case.
Next, swap the SD card by gently pulling it out and placing it in a safe, secure place. Insert the fresh SD card and push it until it stops and no further. The SD card can only be inserted one way and you should not force it into place. So, if the SD card isn’t fitting properly, make sure you’re inserting it correctly and try again!
After the batteries and SD cards have been swapped, be sure to inspect the camera for any damage from animals, water, or humans. Be sure to check the bear box, chain, weatherproof lock, and tree straps as well.
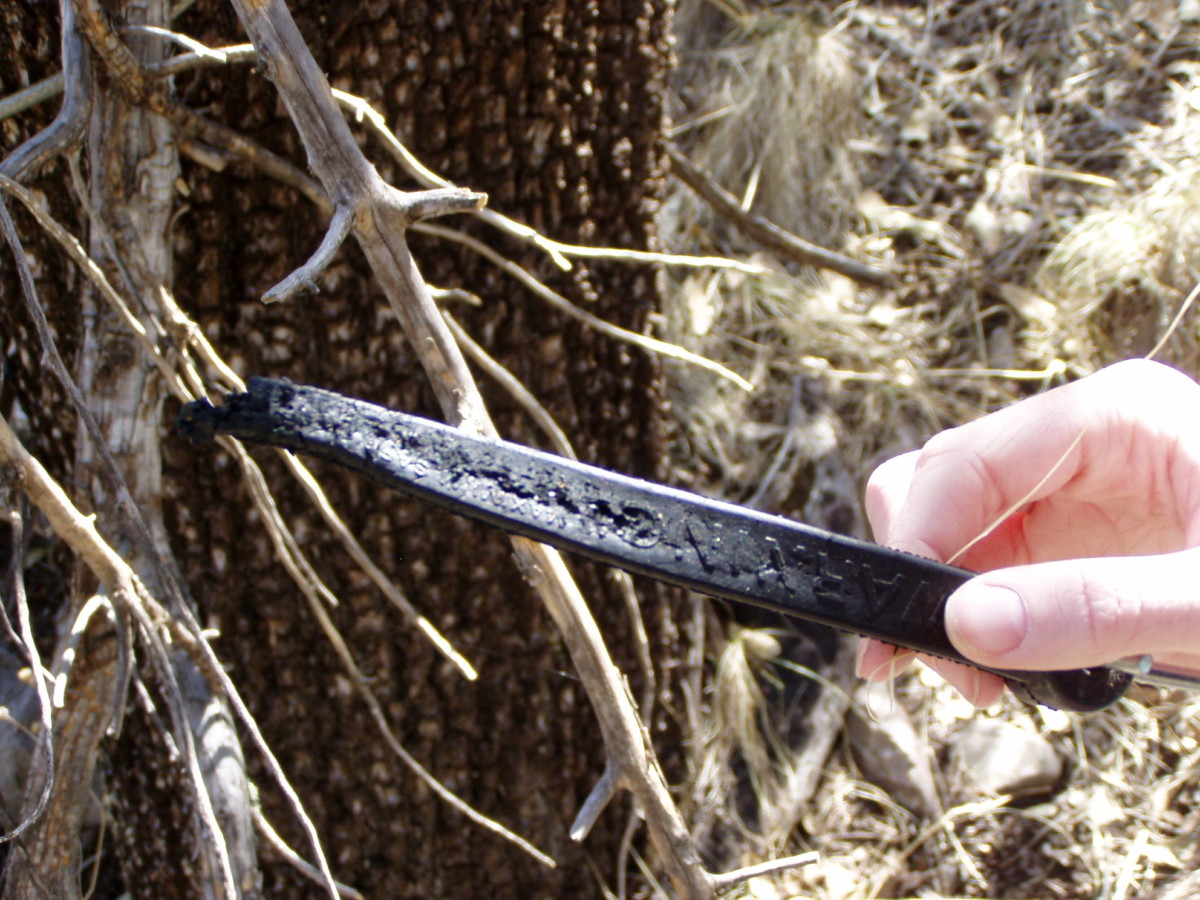
Chewed strap from one of our cameras
Lastly, turn the camera back on and check the date and time! This step is the most skipped but is the most important. Having the correct date and time is crucial for wildlife camera data analysis and if the date is wrong, we can’t use it! After that, be sure to arm the camera so it’s ready to take pictures again. Refer to your camera’s manual for specific instructions for both steps.
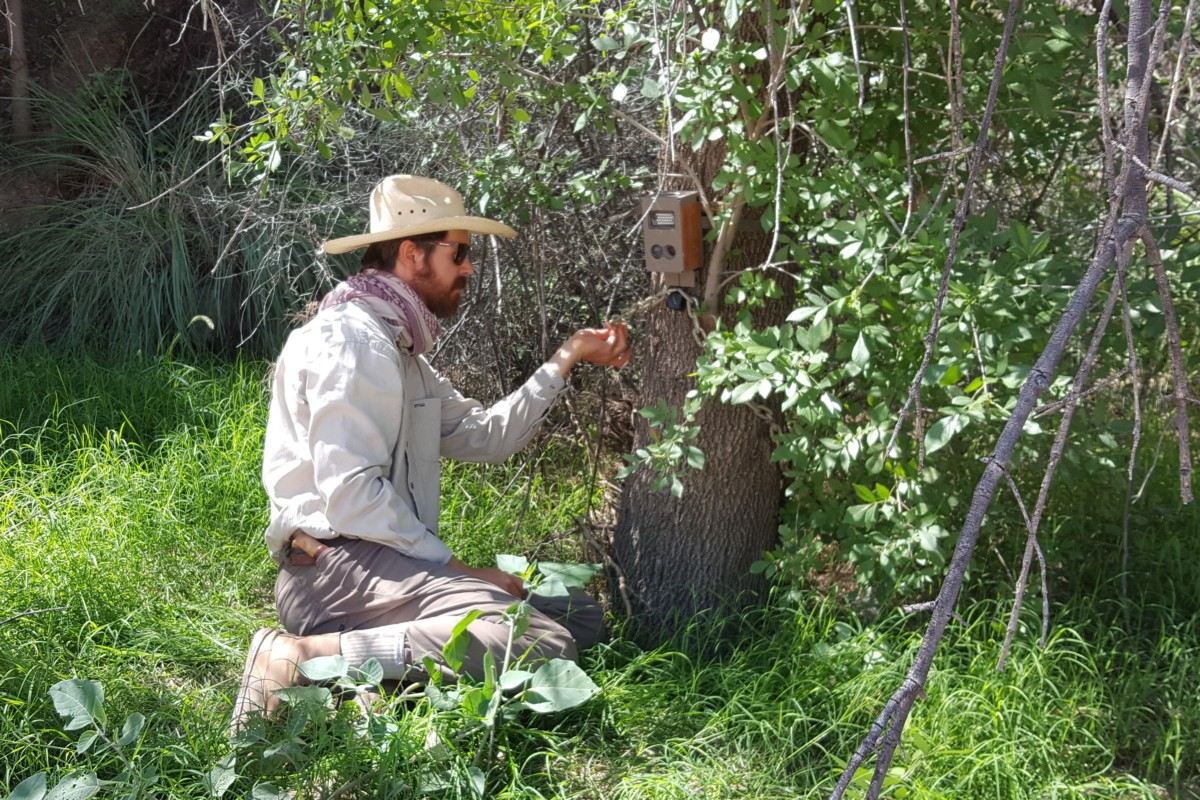
Now that the camera has been checked, place the camera in the bear box or re-strap it to the tree. Double check to make sure the camera is on and armed and lock it back up. You would be surprised how easy it is to forget to do those last two steps.
During the entire camera check, try not to disturb the position that you set and tested. This will keep the photo placement consistent. Also, try not to sit or stand in front of the camera while it is armed, work on the sides of the camera or reach around from behind the tree. This will minimize the number of photos of you fiddling with the camera often at humorous but unflattering angles.
And that is how you check a camera!
Before you leave the site, check to make sure you have your camera’s old batteries, old SD card, keys, and any other supplies you might have brought with you.
Post Trip
When you get back home, or to a device that can read an SD card, copy the photos off the old SD card to a more permanent location. Once you’ve transferred the photos to a safe place, you may wipe the SD card so you can use it the next time you check the camera. If you are so inclined, consider sharing your wildlife data with Sky Island Alliance! Contact Meagan (meagan @ skyislandalliance.org) to learn how!
And that’s it!
Please look forward to a future blog post for tips and tricks of how to identify animal species in your wildlife photos. Until then, enjoy your newfound skill of monitoring wildlife using non-invasive techniques!