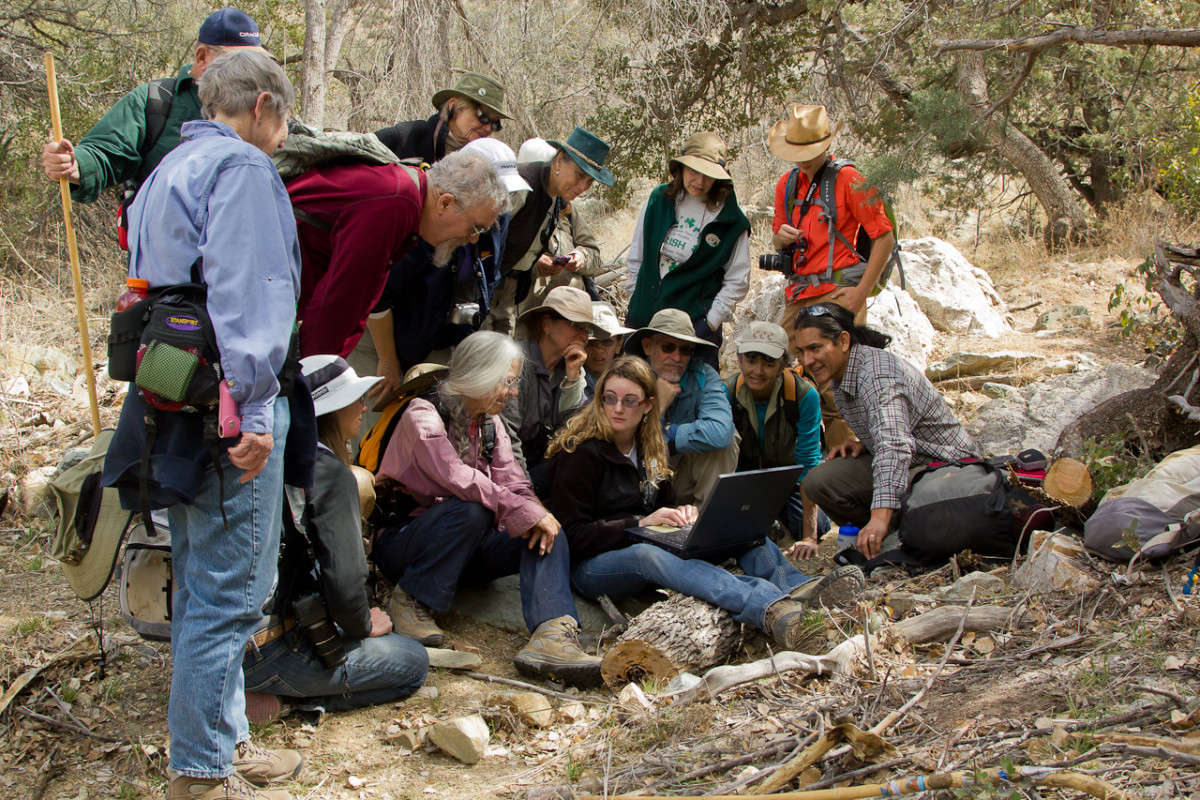
Wildlife cameras are a useful tool to study wildlife in a non-invasive approach and answer many questions about wildlife behavior, occupancy, abundance, and land usage. At Sky Island Alliance, we use wildlife cameras to gather crucial data on wildlife species in the region. This data helps us inform the public and policy makers about the unique diversity we have in the binational region.
In the last decade, wildlife cameras have become cheaper and more accessible to curious wildlife lovers across the globe. This blog will hopefully shed light on how we, at SIA, set up our cameras and give advice to those who would like to set up their own.
Please note, that the information below is a description of the process we use at SIA, it is only one of many great protocols that exist. There are also protocols from other organizations that you can find online if our method does not fit your situation.
Let’s get started with the basic equipment we will need when we go into the field.
Materials
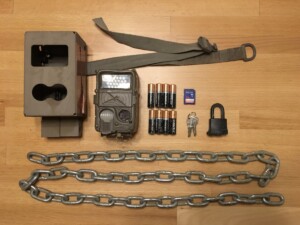
- Remote wildlife camera. The type of camera you use is up to personal preference
and budget. We at Sky Island Alliance use both Cuddeback and Browning brand cameras in the $150 range. TrailCamPro.com is a great resource if you want to explore your options. - Batteries. Check your specific camera to find compatible types of batteries and find out how many you’ll need.
- SD Card. We found that 32 GB are ideal, but 16 GB are usually enough space.
- Security/bear box. If you want to protect your camera from bears and people, we recommend a metal security box, also called bear boxes. These house the camera and give it an extra line of protection. Many of these boxes have a place where you can padlock it closed so thieves will have to work hard to get your camera.
- Padlock and chain or cable lock. Attach this to the camera or bear box for extra security
Suggested Items:
- Computer with SD card reader (or a camera that is formatted to read the SD cards). This will allow you to check the image view as you are setting up the camera
- GPS or Map. if you are unsure how to get back to the camera
- Cutting equipment. Garden snippers, hand saw, and/or knife to clear away grass or branches in front of the camera view.
Camera Setup
Before you go out to the field to place your camera, you will want to format your camera and make sure you have the right settings.
The most important thing to check and update is the Date and Time settings. A lot can be learned about animal behavior given the time it is, or it is not, active. So, if the date and time settings on your camera are wrong, the images may be useless as data!
Every camera model and brand have their own way of changing the settings, so please refer to the camera’s manual for instructions on how to maneuver your camera’s settings. You can change the infrared sensitivity, the wait time between photos, whether you want video or photo bursts, and many other features on your cameras. At SIA we have our cameras take photos in a 3-photo burst, as fast as possible when an animal triggers the infrared sensor, and we don’t take videos to save space on the SD. However, it is your camera and you can experiment with the settings until you have a set-up you like!
Permission
Before you even start looking for a camera location, make sure you have permission to place your camera there! If it is private property check with the landowner, and for public lands lookup the specific rules and regulations for that land agency. The best place to experiment setting up a wildlife camera is in your own backyard! And if you think you can’t possibly have wildlife at your house, ask a friend or family member who may live further out from a city if you could place a camera there.
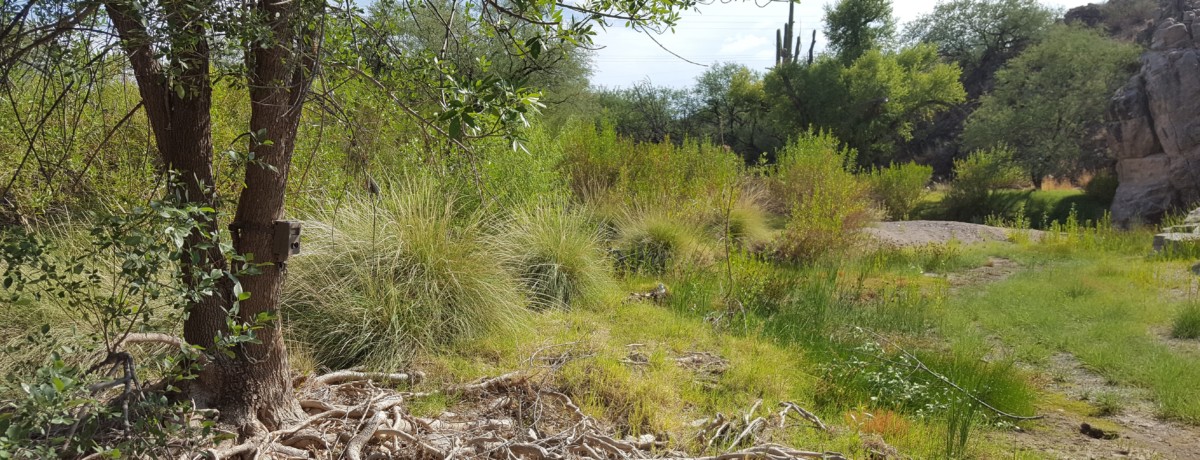
Selecting a site
Now that you have permission, let’s look for the best location for the camera.
The best thing to start looking for are wildlife friendly sites. These can be trails, stream beds, or dirt roads that animals may use to travel on. Also look for sources of water or dense vegetation where wildlife may congregate in the heat of the day. If you think it is a nice location, the local wildlife will probably think so too. Once you have a spot that looks good, examine the location for signs of animals. Look for tracks or trails on the ground and look around for scat or fur that might be left behind. If you see signs of animal presence you are in a good place!
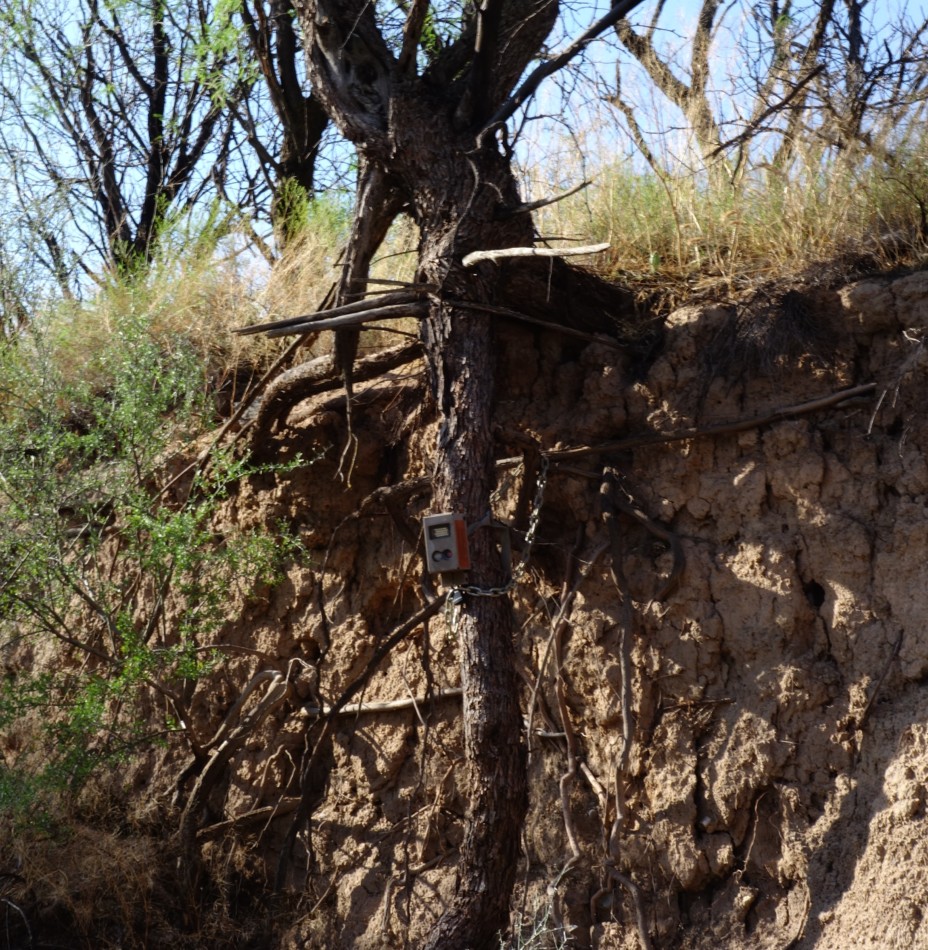
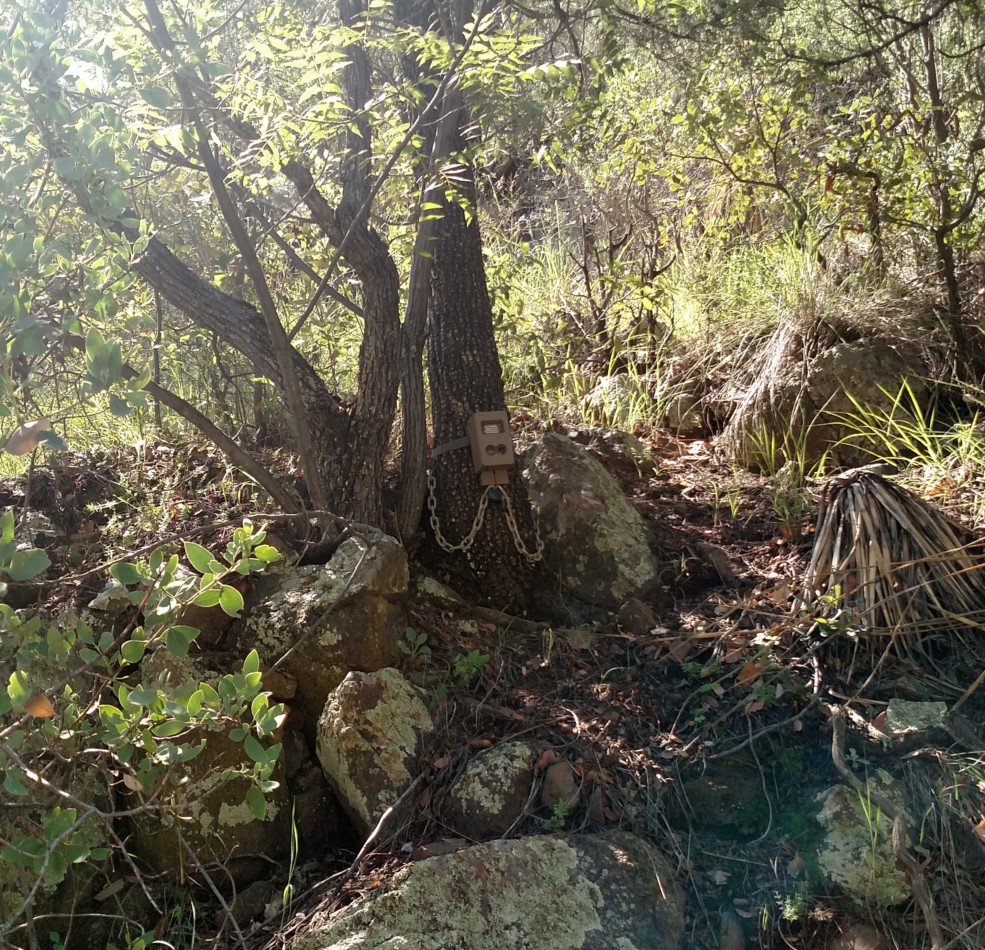
The next thing to do is to look for a tree or shrub that you can tie a camera to. The tree should be small enough to wrap the strap and lock to, but sturdy enough that a thief can’t uproot the tree to take it! If you don’t see a good tree next to the wildlife sign, walk around the area until you see a good one. The tree selection process is more of an art than a science, you will know a good tree when you see it.
Things to Consider
You should also consider camera orientation. Having the camera facing north is preferred. West is a good secondary option. This will decrease the likelihood of the sun affecting the image quality and/or making false triggers, especially in Arizona where the heat from the sun can affect the heat sensor on many cameras.
Additionally, if your location is a wash or a riverbed, look for signs of flooding. You don’t want your camera to be washed away or ruined the next time a big rainstorm comes along. Look at the vegetation for debris piles caught in the branches, as well as water marks and soil disturbances. If you see signs of past flooding, place your camera above of the flood height or move it to another less risky area.
Lastly the best wildlife camera locations should have a relatively open viewing area to allow the best photo quality. That means not having lots of undergrowth right in front of the camera. However, you do want to make sure there is enough camouflage so both animals and humans don’t detect and mess with the camera.
Installation of the Camera
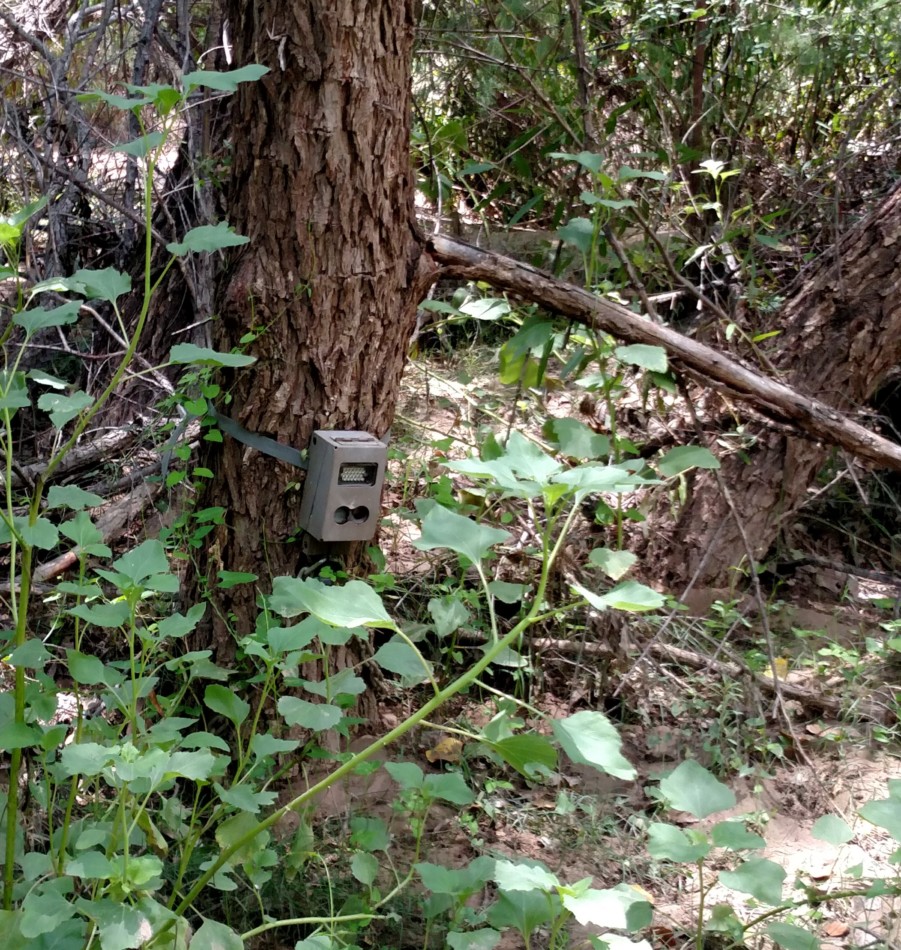
Once you have your chosen tree in a location where you think animals are, you can now start setting up your camera. Ideally you want your camera 18-30 inches above the ground where the camera can capture most of the animals walking by, large and small. Don’t be afraid to adjust the camera height based on any location constraints (i.e. washes, high grass, elevation change, etc.). 
We at SIA don’t drill any holes into the tree to mount our cameras. Instead we use straps and locks to secure the camera. If you are worried about the camera being stolen, we recommend buying a bear box and lock to add extra security to the camera.
Once you have your height and placement of the camera chosen, loop the strap through the appropriate slots on the camera or bear box and tighten around the tree until it is snug. Then slide the camera into the supporting piece in the back of the bear box and close the bear box lid to ensure the camera fits properly.
Testing the camera
Next you need to test the camera to make sure it is set up to take the photos you want.
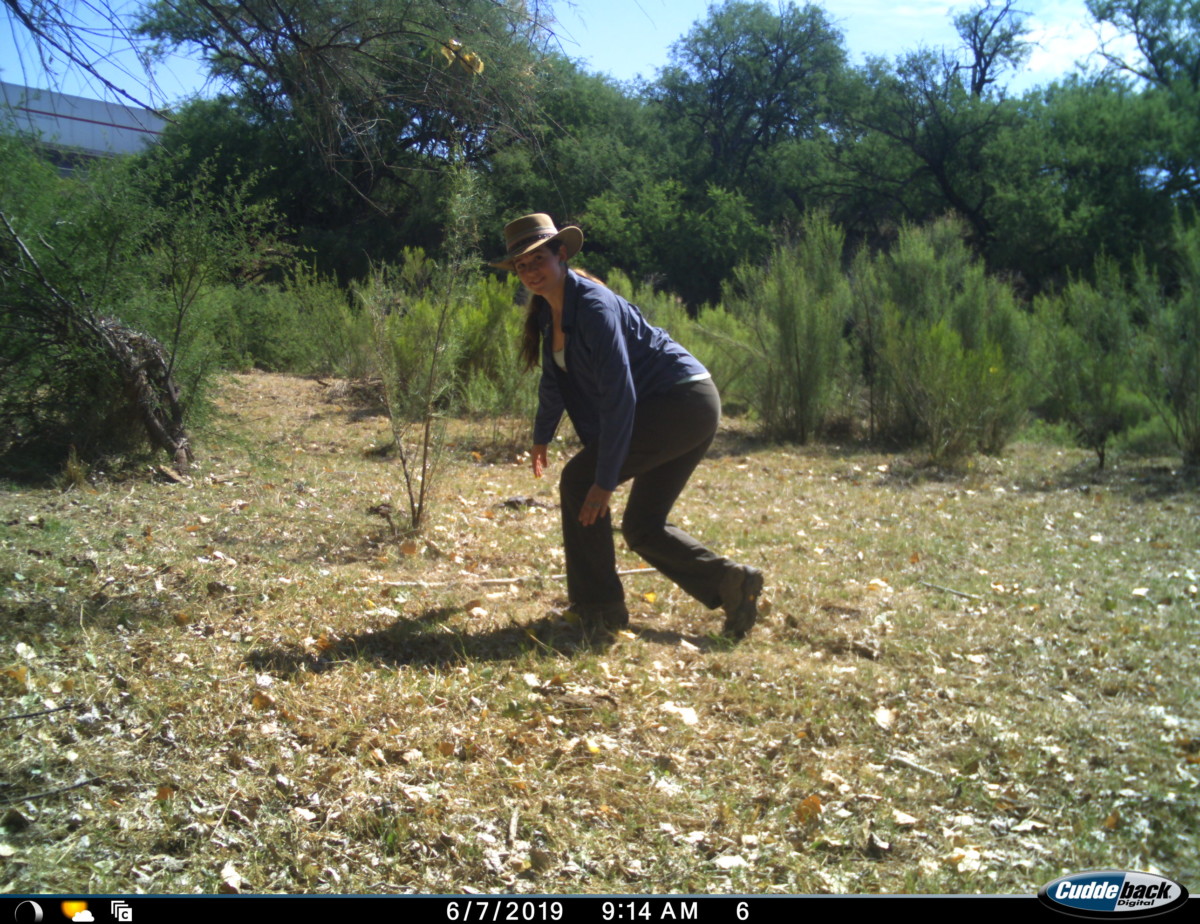
Caught on Camera! A great example of testing the camera
Many cameras have ‘Test’ mode designed for this, refer to your camera manual for specifics. While in this mode, walk across the camera and try to crouch as low as possible to reduce your infrared signal in order to mimic the infrared signal of an animal.
Depending on your model of camera, you can either check image on the screen of the camera, or you might need to remove the SD card and check on a device that can read it.
While checking the test images, check that the camera is sensing you at a reasonable distance. That there is nothing obscuring the image, and that the photos are framed properly.
Final Steps
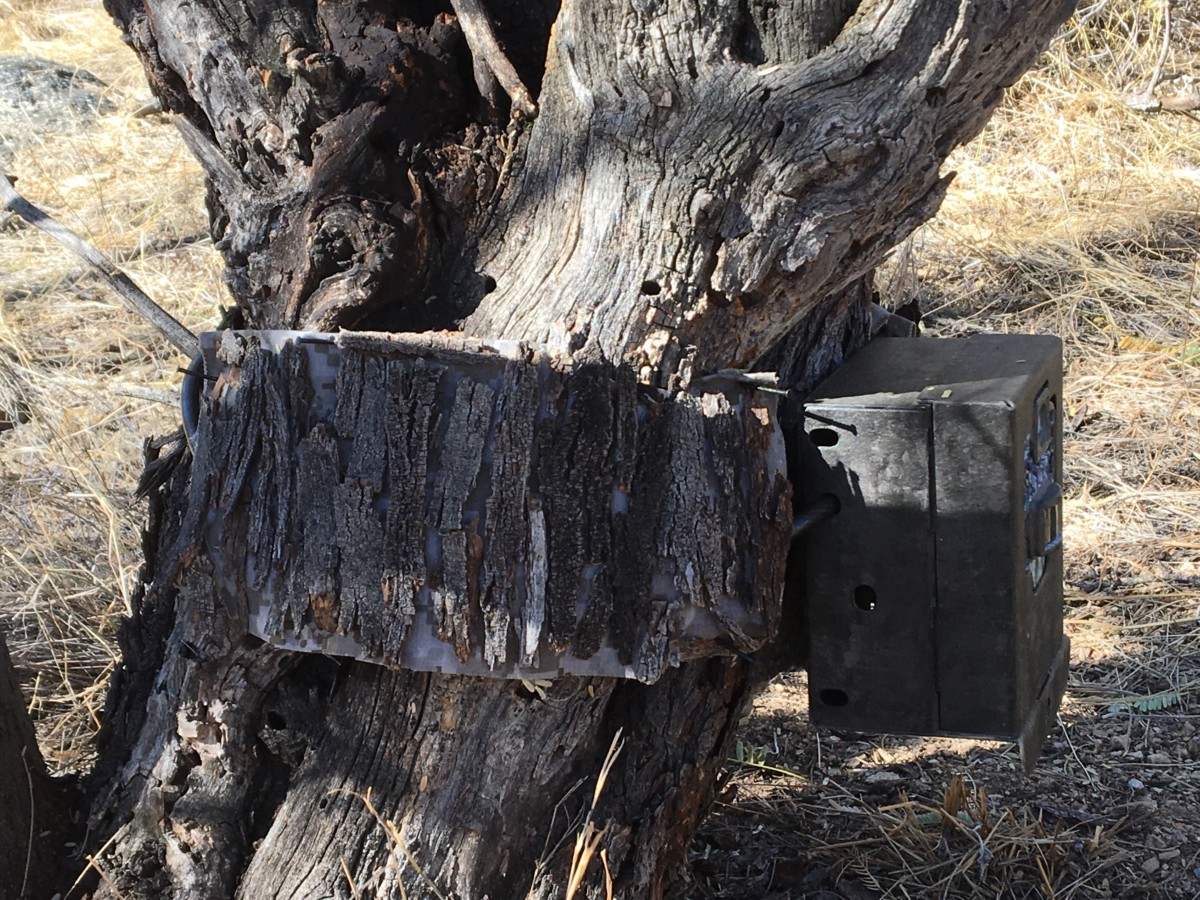
Using fallen bark is a good way to hide a reflective chain
After the camera has been site tested, make sure the camera has the SD card and batteries in place, and put the camera back in the bear box.
Refer to your manual to arm the camera because each camera model is a little different. Once it is armed, close the bear box, and lock the box with your cable lock or chain. Make sure the lock is wrapped securely around the tree.
And that’s it! Well done!
Now it’s time to leave the area and let the camera do its thing. At Sky Island Alliance, we have volunteers check our cameras every 3 months. However, you can check it as frequently as you like. We’ve noticed that 6 months is the upper limit a camera can be operational before the batteries die or the SD card fills up.
Click here to learn How to check your wildlife camera!